Last updated:
A home water audit is a room-by-room check of where your household water goes and where it escapes. You look, listen, measure, and write things down, so you know what is leaking, what could be more efficient, and what to do first.
It is worth doing. According to the EPA’s WaterSense program, the average household’s leaks waste more than 9,300 gallons of water every year, and about 9 percent of homes have leaks wasting 50 gallons or more per day. Common household leaks include worn toilet flappers, dripping faucets, and leaking valves.
Plan on approximately 45 to 60 minutes of hands-on checks, plus one 2-hour waiting period during which nobody in the house uses any water. You will finish with a filled-out worksheet, a prioritized action list, and real numbers for your own home.
Why Bother? What Household Leaks Actually Cost in Water
The EPA estimates that household leaks waste nearly 1 trillion gallons of water every year across the country, roughly equal to the annual water use of more than 11 million homes. Fixing easily corrected household leaks can save homeowners about 10 percent on their water bills.
A few figures from EPA WaterSense put it in perspective. A faucet dripping once per second can waste more than 3,000 gallons per year. A showerhead leaking at just 10 drips per minute can waste more than 500 gallons per year. A leaky or running toilet can waste as much as 200 gallons per day. Worn flappers are a common cause of toilet leaks.
Before You Start: What You’ll Need
Gather these before you begin. Everything is an ordinary household item.
- A recent water bill (for Step 1)
- Food coloring, any dark color (for Step 6)
- A 1-gallon container such as a bucket or large pitcher, and a stopwatch or phone timer (for Step 7)
- A towel and a flashlight (for under-sink checks)
- A printed copy of the audit worksheet in Step 8, or a notebook
Step 1 — Check Your Baseline on Your Water Bill
Start with your most recent water bill. Find your total usage for the billing period and convert it to a monthly figure if needed. Write it on your worksheet as your baseline for later comparison. One warning sign the EPA recommends: during the winter, when you are not watering outdoors, a family of four using more than 12,000 gallons in a month may have a serious leak. That threshold assumes a four-person household and a winter month with no irrigation, so treat it as a flag to investigate, not a diagnosis.
Step 2 — The 2-Hour Water Meter Leak Test
This is the single most useful test in the audit. Pick a quiet two-hour window, such as early morning or an evening when nobody needs water.
Prepare for zero water use. Turn off or pause everything that uses water: faucets, toilets (do not flush during the test), dishwasher, washing machine, ice maker, irrigation, and any water softener mid-cycle. Make sure everyone in the house knows no water gets used for the next two hours.
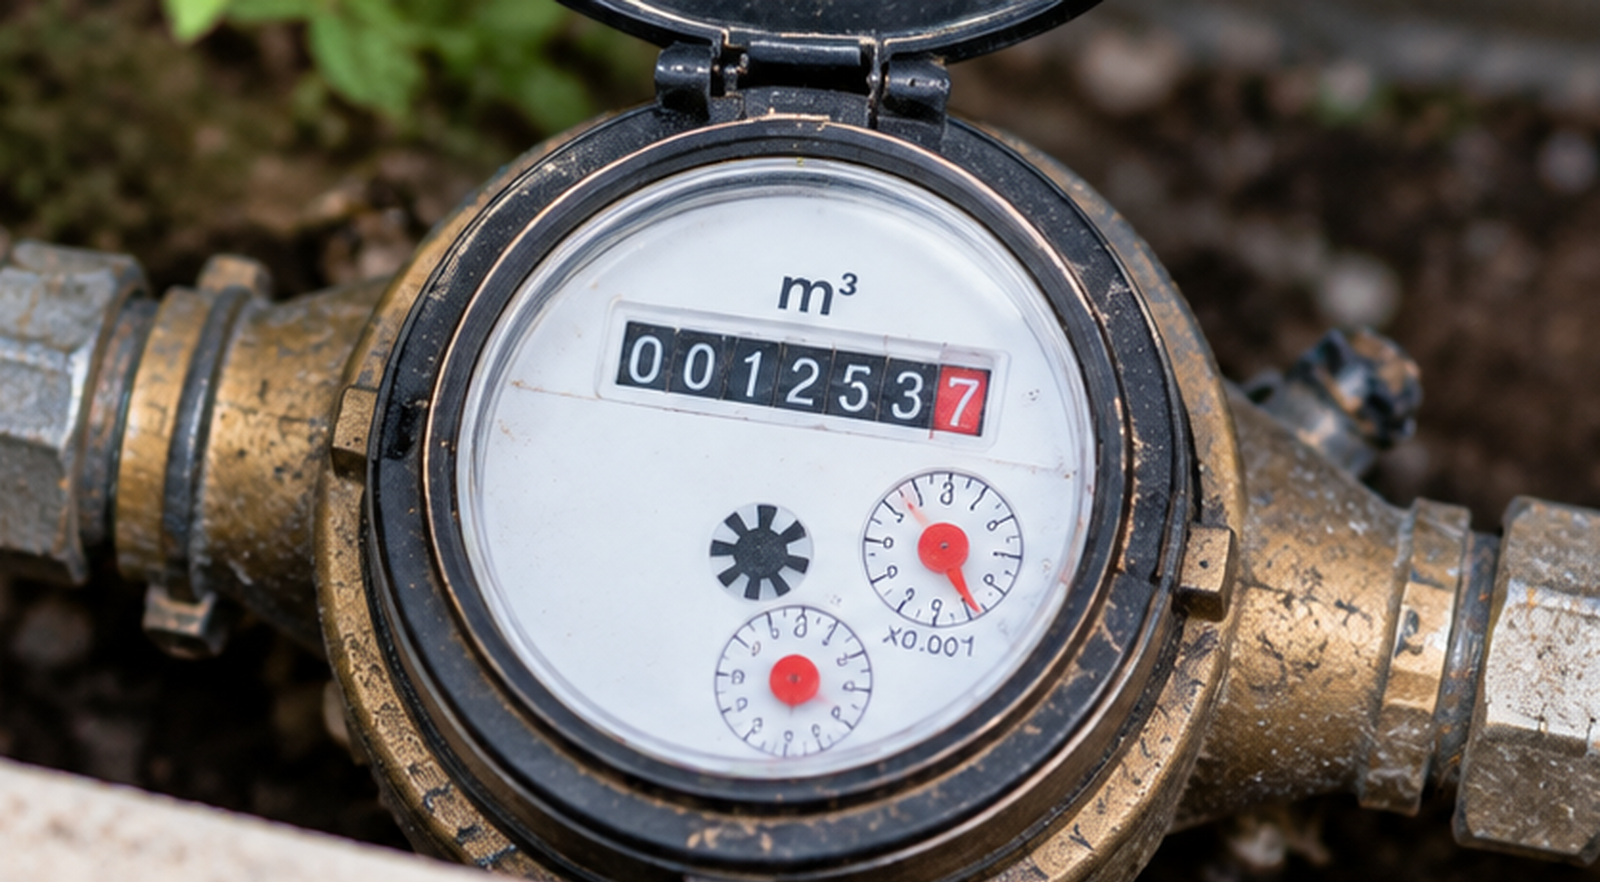
Read the meter. Only access the meter where customer access is permitted, usually an unlocked box near the curb. Never open locked or sealed utility equipment or manipulate the utility-side valve. You are only reading. Note the reading and its units: gallons, cubic feet, or CCF. On an older analog meter, a moving leak indicator, often a small red triangle or diamond near the dial, means water is flowing. On a digital or smart meter, the display varies by manufacturer, so follow your own utility’s meter-reading guide. Many utilities publish one with photos of their own meters; here is one city’s example of what to look for.
During the wait, do only zero-water-use checks. The two hours must stay completely water-free for the test to mean anything. This is not the time for the toilet dye test, which ends with a flush, or the faucet and shower flow tests, which run water. Instead, do Step 3 now: the visual-only inspections.
GreenerPulse tool: meter-reading log. Use this simple log for your two readings.
| Reading | Units | |
|---|---|---|
| Start time: ____ | gallons / cubic feet / CCF | |
| End time (2 hours later): ____ | gallons / cubic feet / CCF | |
| Difference |
Step 3 — Do the Zero-Water Visual Inspections While You Wait
These checks use no water, so they fit inside the meter-test waiting period.

Under sinks and supply lines. Open every under-sink cabinet and look with your flashlight for pooling water, damp spots, corrosion, or musty smells. Feel lightly along visible supply lines for moisture. Do not loosen or tighten anything.
Water heater area. Check the floor around your water heater for pooling or dampness. Drips from the pressure-relief valve or unexplained pooling go on the worksheet as a call-a-pro item. Look only.
Appliance hoses. Where visible without moving appliances, check dishwasher and washing machine supply hoses for bulges, cracks, moisture, or corrosion at the connections.
Outdoors. Check every hose bib for drips and snug connections. Walk visible irrigation lines and look for soggy spots, geysers from broken heads, or water running where it should not. For anything in-ground, stop at the visual check: the EPA’s guidance is explicit that a leaking in-ground irrigation system calls for a licensed plumber or qualified irrigation professional, not a shovel.
Step 4 — Take the Second Meter Reading
Read the meter exactly as before and compare. If the reading changed at all, you probably have a leak. If it is identical, no continuous leak was detected during this two-hour test. Intermittent leaks may still exist, so continue with the fixture checks regardless.
To convert the difference: multiply cubic feet by 7.48, or CCF by 748, then divide by 2 for gallons per hour. Example: a CCF meter moves from 45.2 to 45.3 over two hours, which is 0.1 × 748 = 74.8 gallons, about 37 gallons per hour or roughly 900 gallons per day. That large a number means a serious leak, so skip ahead to the professional-help section.
Step 5 — Is the Leak Inside or Outside?
If your meter moved, the next question is whether the leak is inside your house or in the line between the meter and the house. The diagnostic concept: close your home’s main shutoff valve, the valve on your side of the plumbing inside the house, and check the meter again.
Be careful. Your home’s main shutoff is different from the utility-side meter valve at the street. Never touch the utility’s valve. If you are not sure which valve is yours, or if any valve is stiff or corroded, do not force it. Call your utility or a plumber instead.
The logic is straightforward. If the meter stops moving after you close your home’s valve, the leak is inside the house. If it keeps moving, the leak is likely in the service line between the meter and the house, which is professional territory.
Step 6 — Test Every Toilet With the 10-Minute Dye Test
Now that the meter test is complete, you can use water again. Toilets are, by far, the main source of water use in the home, accounting for nearly 30 percent of an average home’s indoor water consumption (EPA WaterSense). Toilet leaks can be silent, and worn flappers are a common cause.

The EPA’s dye test is simple and reliable:
- Add a few drops of food coloring to the water in the tank, not the bowl.
- Do not flush. Wait 10 minutes.
- If any color shows up in the bowl, the toilet has a leak.
- Flush immediately afterward so the dye does not stain the tank.
Test every toilet in the house. The EPA’s current procedure uses a 10-minute wait. Some utilities use different procedures.
While the tank lid is off, look at the flapper, the rubber seal at the bottom of the tank. If it feels warped, cracked, or slimy, or if the toilet runs on its own between flushes, the flapper is the likely problem. The EPA advises checking it periodically and replacing it at least every five years. If a dye test still comes back positive after the flapper has been addressed, call a plumber.
While you are at the toilet, note the gallons-per-flush figure if it is stamped inside the tank or on the bowl, just to record it. If you want to understand what your toilet’s GPF means, we have a separate guide on the 1.28-gallon standard.
Step 7 — Check Faucets and Showerheads
This step has two distinct parts. Do them separately.
Part A: the leak check. Go to every faucet and showerhead. Look and listen for drips, check faucet bases for moisture, and check showerheads for drips or stray spray when off. Count drips per minute for anything that drips.
Part B: the efficiency record. For each faucet and showerhead, run the bucket test: place your 1-gallon container under the fixture at normal full flow and time how long it takes to fill, then calculate:
GPM = (gallons collected ÷ seconds) × 60
Worked example: the bucket fills in 30 seconds. 1 ÷ 30 × 60 = 2.0 GPM.
Compare your results to the official benchmarks. Showerheads: 2.5 GPM federal maximum for new products, 2.0 GPM WaterSense maximum. Bathroom faucets: 2.2 GPM federal maximum, 1.5 GPM WaterSense maximum (U.S. Department of Energy). Note carefully: the 1.5 GPM WaterSense figure applies to bathroom and private lavatory faucets only, not kitchen faucets. For kitchen faucets, record the measured flow and move on.
GreenerPulse tool: rough drip-rate estimator. Count drips for 60 seconds, then find the rough yearly figure, based on the EPA’s approximate figure of 1 drip per second wasting more than 3,000 gallons per year.
| Drips per minute | Rough gallons per year |
|---|---|
| 15 (one every 4 seconds) | ~750 |
| 30 (one every 2 seconds) | ~1,500 |
| 60 (one per second) | 3,000+ |
If a fixture produces a steady stream rather than drips, skip the estimator and use the bucket test instead.
Step 8 — Record Everything on Your Water Audit Worksheet
Now transfer all of your notes into one place. This GreenerPulse worksheet is our own organizational tool, not a government form. Print it or copy it into a notebook.
HOME WATER AUDIT WORKSHEET
- Audit date: ____
- Home type: house / apartment
- Own / rent: ____
- Meter start reading: ____ (units: gallons / cubic feet / CCF)
- Meter end reading: ____ (units: gallons / cubic feet / CCF)
- Meter moved during 2-hour test? yes / no
- Inside or outside isolation result: ____
For each toilet (location): dye test result (pass / leak) ____; GPF stamped ____; flapper condition ____
For each faucet (location): drips? yes / no (drips per minute ____); measured GPM ____; kitchen or bathroom ____
For each shower (location): drips? yes / no; measured GPM ____
Visible plumbing and under-sink areas: moisture found? yes / no; location and notes ____
Water heater area: pooling or dampness? yes / no; notes ____
Appliance hoses: condition ____
Outdoor hose bibs: drips? yes / no; irrigation visual notes ____
Suspected hidden leaks (sounds, stains, smells, unusually green patches outdoors): ____
Priority for each item found: Fix now / Monitor / Upgrade later / Call a pro
Action and date: ____
Follow-up re-test date: ____
Step 9 — Prioritize: Fix Now, Monitor, Upgrade Later, or Call a Pro
Not everything you found needs the same response. This priority framework is GreenerPulse’s own decision tool.
FIX NOW. An active drip or stream you can see or hear. A running toilet.
MONITOR. A slow, intermittent drip with its rate logged. Re-check in 30 days; if it gets worse, it moves to Fix Now.
UPGRADE LATER. A fixture that works fine but is less water-efficient than WaterSense-labeled alternatives: a 2.2 GPM bathroom faucet, a 2.5 GPM showerhead, a 1.6 GPF toilet. Not emergencies. A flapper five years old or older goes here as preventive maintenance: note it for replacement soon even if the dye test was negative, since the EPA advises replacing flappers at least every five years.
CALL A PRO. The meter moves but you cannot find the source. Water damage, mold, or structural moisture. A suspected hidden leak. Any hot-water system leak. A suspected service-line leak. A toilet that still fails the dye test after the flapper has been addressed. Anything inaccessible.
The precedence rule: CALL A PRO overrides FIX NOW whenever any of these are present: suspected hidden leaks, water or property damage, a hot-water system leak, a suspected service-line leak, inaccessible plumbing, or continuous meter movement with no identified source. Do not open walls, pull up flooring, or investigate destructive or inaccessible areas yourself.
Step 10 — Fix What You Can, Then Re-Test
Handle only simple maintenance you are already comfortable with and that manufacturer or utility guidance supports, such as replacing a toilet flapper or cleaning a faucet aerator. Anything uncertain, damaged, inaccessible, or involving plumbing connections should defer to appropriate professional help.
Then prove the fix worked. Repeat the 2-hour meter test exactly as before. If the meter holds steady, no continuous leak was detected during the re-test. If it still moves, keep working through the priority list.
GreenerPulse tool: before/after re-test checklist.
- [ ] Fix completed and date recorded
- [ ] Worksheet updated with what was done
- [ ] 2-hour meter test repeated with zero water use
- [ ] New meter readings logged and compared to the original
- [ ] Any remaining movement investigated or escalated to a pro
- [ ] Follow-up date set for Monitor items (30 days)
Renters: What You Can and Can’t Do
Renters can do many of the non-invasive parts of this audit: visual inspections, dye tests where appropriate, drip counting, fixture flow measurement, and documentation with photos and dates. Reviewing your own water bill where you receive one separately also helps.
What you should not do: dismantle plumbing, attempt repairs beyond what your lease allows, or touch any utility equipment. In apartment buildings without an individual meter, rely on the fixture checks and your bill history, and ask your landlord or utility about meter access. Meter access, shutoff-valve use, and repairs depend on access, lease and property rules, and local circumstances.
If you find a leak, document it with photos and a written description, then notify your landlord or property manager in writing and keep a copy. Repair responsibility varies by lease and local law, so this is general information, not legal advice. For a renter, the audit’s value is evidence: a dated worksheet with dye-test results and drip counts carries far more weight than a vague complaint about a high bill.
When to Call a Plumber or Your Utility
Call a professional when any of these apply: the meter changes but you cannot find the leak; moisture inside walls, floors, or ceilings; mold or property damage; a hot-water system leak; inaccessible pipes; a suspected service line; a leaking in-ground irrigation system; or a toilet that keeps failing the dye test after the flapper has been addressed.
For complicated shower valve drips, the EPA suggests an experienced handyperson or licensed plumber. For irrigation problems, look for a qualified irrigation professional. When you call, bring your worksheet: “my meter moved 0.1 CCF in two hours with everything off, and the dye test failed in the guest bathroom” gets help far faster than “I think I have a leak somewhere.”
Frequently Asked Questions
How do I know if I have a hidden water leak?
Start with the 2-hour meter test in Step 2. If the meter moves while no water is used, water is escaping somewhere. Other signs: running-water sounds when everything is off, unexplained moisture or stains, musty smells, or a bill that climbs with no change in habits.
What does it mean if my water meter changes when no water is being used?
It probably means you have a leak. First double-check that nothing was actually using water: ice makers, irrigation timers, water softeners, and appliances are the usual suspects. If everything was truly off and the meter still moved, work through the fixture checks, then use Step 5 to narrow it down.
How long should I leave food coloring in a toilet tank?
Ten minutes without flushing, per the EPA’s current guidance. Color in the bowl means a leak. Flush right afterward so the dye does not stain. A few utilities suggest up to 30 minutes; the EPA’s current procedure uses ten.
Can renters do a home water audit?
Yes, many of the non-invasive parts: visual inspections, dye tests where appropriate, drip counting, and flow measurements are renter-friendly. Document everything with photos and dates, and notify your landlord or property manager in writing about anything you find. Do not dismantle plumbing or touch utility equipment.
How often should I check toilets for leaks?
Check the flapper periodically and replace it at least every five years, per EPA guidance. The EPA’s Fix a Leak Week campaign runs every March and makes a good yearly reminder for the quick checks in this guide. Note that this guide does not claim the EPA recommends a full annual home audit.
Your Next Step
Once your audit is done and your worksheet is full, you will know exactly where your water is going. Fix the leaks first, because no efficiency upgrade pays off while water is escaping unnoticed. Each working-but-less-efficient fixture on your list then becomes a future project with real numbers behind it.